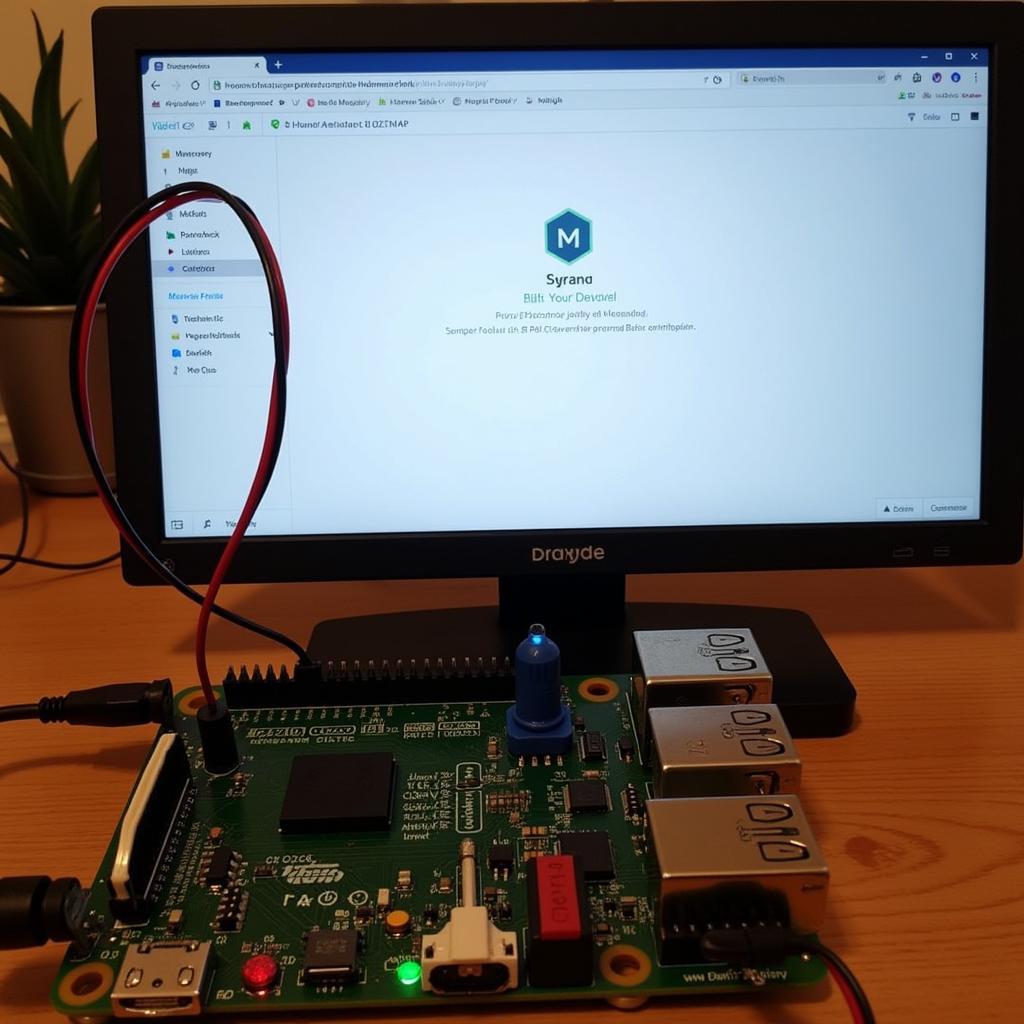
The world of smart homes is evolving at a rapid pace, and at the heart of this revolution lies the powerful combination of Raspberry Pi and Home Assistant. This dynamic duo empowers you to create a truly personalized and automated living space, tailored to your exact needs and preferences.
Imagine a home where lights automatically adjust to the time of day, your favorite music follows you from room to room, and the thermostat knows exactly when to create the perfect ambiance. With a Raspberry Pi and Home Assistant, this vision of a seamlessly connected home becomes a tangible reality.
Why Choose Raspberry Pi and Home Assistant for Your Smart Home?
The beauty of this pairing lies in its flexibility, affordability, and open-source nature. Unlike commercial smart home hubs that often lock you into a closed ecosystem, Raspberry Pi With Home Assistant gives you complete control over your data and devices.
Here’s why this combination is a game-changer:
- Affordability: Raspberry Pi is a budget-friendly single-board computer, making it an accessible entry point into the world of smart homes.
- Customization: Home Assistant’s open-source platform allows for unparalleled customization. You can connect and control a vast array of devices from different manufacturers, breaking free from the limitations of proprietary systems.
- Privacy: With your data stored locally on your Raspberry Pi, you have peace of mind knowing that your personal information remains private and secure.
- Local Control: Enjoy the reliability and responsiveness of local control, even when your internet connection is down.
 Setting up Raspberry Pi and Home Assistant
Getting Started: Building Your Smart Home Foundation
Setting up your Raspberry Pi with Home Assistant is easier than you might think. Even if you’re new to the world of coding and electronics, the process is well-documented and supported by a vibrant online community.
Here’s a simplified breakdown of the steps involved:
- Gather Your Materials: You’ll need a Raspberry Pi (Model 3B+ or newer is recommended), a microSD card, a power supply, and an ethernet cable.
- Install Home Assistant: Download the Home Assistant image and flash it onto your microSD card.
- Connect and Boot Up: Connect your Raspberry Pi to your router via ethernet, insert the microSD card, and power it on.
- Access the Interface: Once Home Assistant boots up, you can access its user-friendly interface through a web browser on your computer or smartphone.
Expanding Your Smart Home Ecosystem
With your Raspberry Pi and Home Assistant up and running, the possibilities are endless. You can start by integrating your existing smart devices, such as smart lights, thermostats, and security cameras.
Home Assistant supports a vast and growing list of integrations, including popular platforms like Philips Hue, Nest, and Amazon Alexa. This means you can control your devices from a single, unified interface, regardless of their brand or protocol.
Automating Your Life: Creating Smart Home Routines
The true power of Home Assistant lies in its ability to automate tasks and create intelligent routines based on your preferences and lifestyle.
Imagine waking up to a gentle sunrise simulation as your smart lights gradually brighten, followed by a personalized news briefing through your smart speaker. As you leave for work, Home Assistant can automatically adjust the thermostat, arm your security system, and even start your robot vacuum cleaner.
Creating these automations is surprisingly intuitive, thanks to Home Assistant’s user-friendly interface and visual automation editor.
Tips for Optimizing Your Raspberry Pi Home Assistant Setup
- Choose the Right Storage: Opt for a high-quality, high-speed microSD card for optimal performance and reliability.
- Keep Your System Updated: Regularly update both Home Assistant and your Raspberry Pi’s operating system to benefit from the latest features and security patches.
- Consider a Case: Protect your Raspberry Pi from dust and accidental damage with a durable case.
- Explore the Community: The Home Assistant community is a valuable resource for troubleshooting, sharing ideas, and discovering new integrations.
 Controlling your smart home remotely with Home Assistant
Conclusion
Embark on your smart home journey with the unbeatable combination of Raspberry Pi and Home Assistant. Experience the freedom of an open-source platform, the power of customization, and the convenience of a truly connected living space. Start small, experiment, and watch your smart home evolve as you discover new possibilities and unlock its full potential.