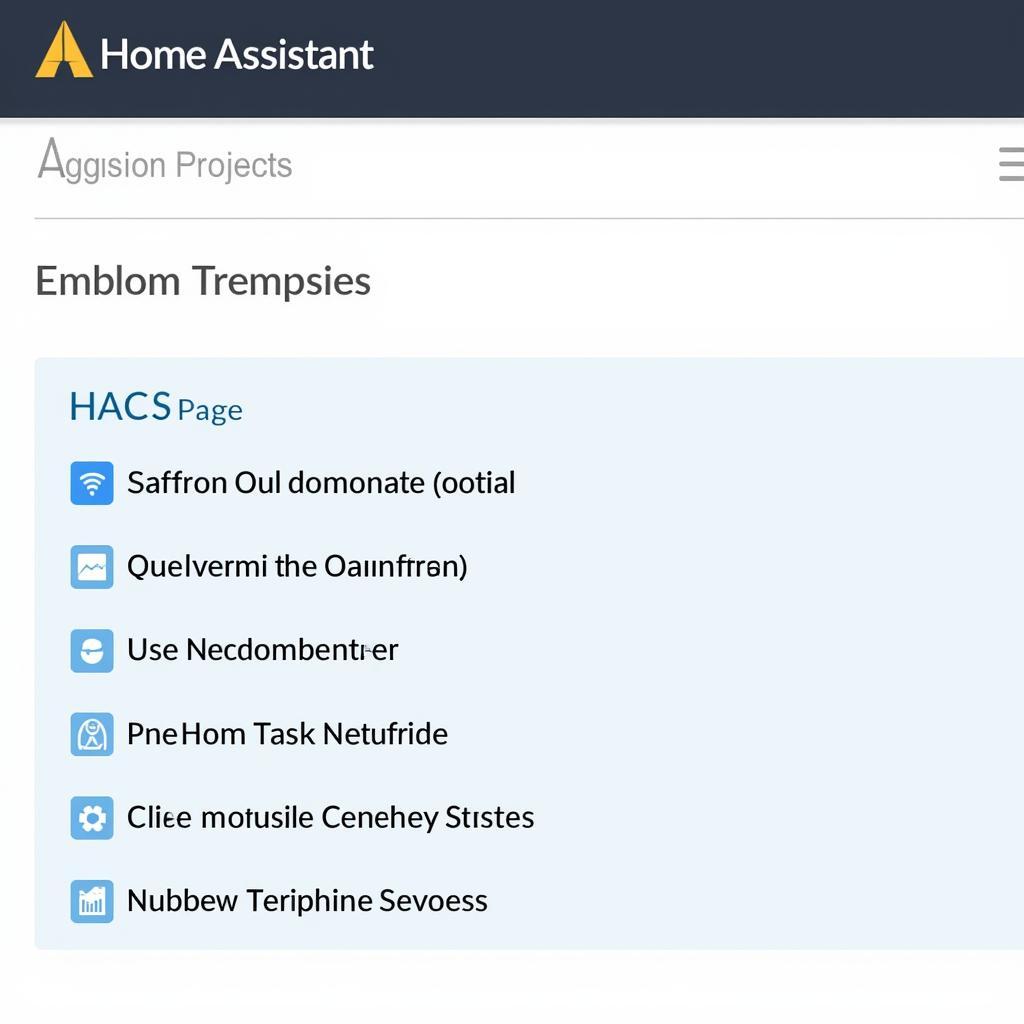
Integrating HACS (Home Assistant Community Store) into your Home Assistant setup is crucial for unlocking a world of custom integrations, themes, and components. This guide walks you through the installation process, ensuring a seamless experience for enhancing your smart home’s capabilities.
Why Use HACS?
While Home Assistant boasts a wide range of built-in integrations, HACS significantly expands your options. HACS simplifies the process of:
- Accessing Community-Developed Integrations: Discover and install integrations for devices and services not officially supported by Home Assistant.
- Enhancing Aesthetics: Personalize your Home Assistant interface with a variety of themes, enhancing its visual appeal and user experience.
- Leveraging Custom Components: Access cutting-edge features and functionalities developed by the vibrant Home Assistant community.
 Installing HACS in Home Assistant
Prerequisites for HACS Installation
Before diving into the installation, ensure your setup meets the following requirements:
- Up-to-Date Home Assistant: Having the latest version of Home Assistant ensures compatibility and optimal performance with HACS.
- Supervisor Access: HACS relies on the Home Assistant Supervisor, a powerful management tool, to streamline the installation and management of add-ons.
- Basic Home Assistant Familiarity: A fundamental understanding of Home Assistant’s interface and basic configurations will prove beneficial.
Step-by-Step HACS Installation
Follow these instructions to seamlessly integrate HACS into your Home Assistant setup:
-
Enable Advanced Mode: This mode grants access to advanced features and settings, including the ability to install HACS.
-
Access Add-on Store: Navigate to the ‘Supervisor’ tab, then click on ‘Add-on store.’
-
Search and Install ‘HACS’: Locate the HACS add-on and click ‘Install.’
-
Restart Home Assistant: Restarting allows the newly installed HACS add-on to fully integrate into your system.
-
Set Up HACS: Once restarted, you’ll find HACS in the sidebar. Follow the on-screen prompts to complete the initial configuration. This may involve logging into your GitHub account if you wish to access repositories requiring authentication.
Exploring the HACS Interface
With HACS installed, familiarizing yourself with its interface is key to unlocking its potential:
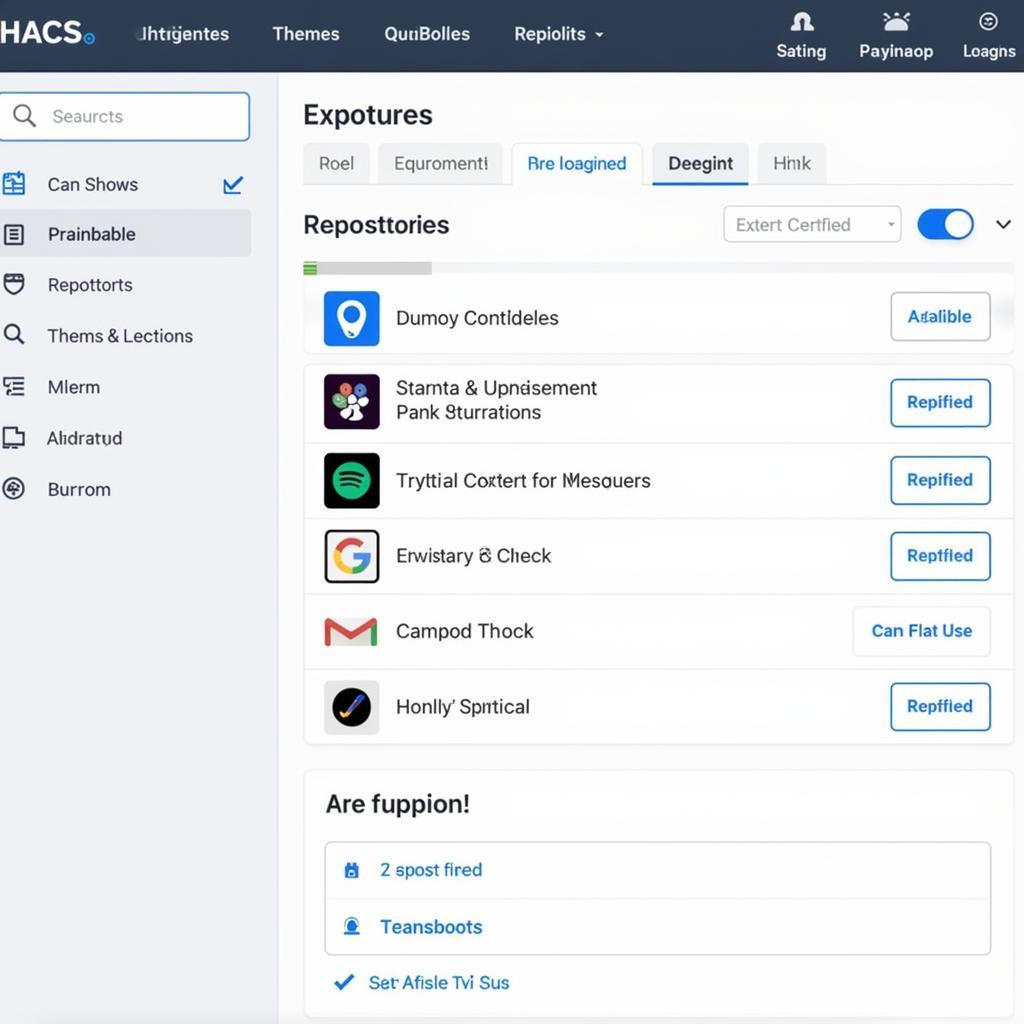
- Integrations: Discover a plethora of community-developed integrations for a wide range of devices and services.
- Frontends: Explore various themes to customize the look and feel of your Home Assistant interface.
- AppDaemon Apps: Access and manage AppDaemon apps, which provide advanced automation capabilities.
- NetDaemon Apps: Explore NetDaemon apps for creating sophisticated automations and integrations.
- Themes: Give your Home Assistant dashboard a fresh look with various themes, from minimalist to feature-rich designs.
 Browsing Repositories in HACS
Installing Custom Integrations and Themes
HACS simplifies the installation of community-developed integrations and themes:
- Find Your Desired Integration or Theme: Use the HACS search bar to find what you need.
- Click ‘Install’: Once you’ve found it, click the ‘Install’ button on the repository page.
- Restart Home Assistant (if required): Some installations require a restart for the changes to take effect.
Conclusion
Integrating HACS into your Home Assistant setup is a game-changer, unlocking a universe of possibilities for expanding your smart home’s capabilities. From custom integrations and themes to advanced automation tools, HACS empowers you to personalize and enhance your Home Assistant experience.