Thinking about ditching those expensive salon visits and taking your hair transformation into your own hands? You’re not alone! Home Permanent Kits have come a long way, offering a convenient and affordable solution for achieving those bouncy curls or sleek straight styles you’ve always dreamed of. But with so many options available, navigating the world of home perms can feel overwhelming.
Fear not! This comprehensive guide will equip you with all the knowledge you need to confidently choose the right kit, apply it like a pro, and flaunt your stunning new do.
Understanding Home Permanent Kits: What You Need to Know
Before diving into the exciting world of at-home perms, let’s demystify the process. A permanent wave, or perm for short, is a chemical process that alters the structure of your hair, making it curly or straight, depending on your desired outcome.
Home permanent kits provide all the tools and solutions necessary to perform this transformation in the comfort of your own bathroom. These kits usually contain:
- Waving lotion: Breaks down the hair’s bonds, allowing it to be reshaped.
- Neutralizer: Reforms the bonds in their new shape, making the curl or straightening effect permanent.
- Rods or rollers: Determine the size and tightness of your curls.
- Gloves and other accessories: Ensure a safe and mess-free application.
Choosing the Right Home Permanent Kit for Your Hair Type
One size doesn’t fit all when it comes to home perms. Selecting the right kit tailored to your hair type is crucial for achieving the desired results.
For fine hair: Opt for kits specifically designed for delicate hair, with a gentler formula to minimize damage.
For thick, coarse hair: Choose kits formulated for resistant hair, as they contain stronger solutions to effectively penetrate and reshape the hair shaft.
For color-treated hair: Look for kits labeled as color-safe or specifically designed for chemically treated hair to prevent further damage or color fading.
Prepping Your Hair for the Perfect Perm: Essential Steps
Proper preparation is key to achieving salon-worthy results with your home perm.
- Start with clean hair: Wash your hair with a clarifying shampoo to remove any product buildup or residue that could interfere with the perming process.
- Detangle thoroughly: Comb through your hair with a wide-tooth comb to remove any knots or tangles.
- Apply a protective barrier: Apply a thin layer of petroleum jelly around your hairline and ears to protect your skin from the perming solution.
Mastering the Application: A Step-by-Step Guide
Now that your hair is prepped and ready, let’s dive into the application process.
- Section your hair: Divide your hair into manageable sections using clips to ensure even application.
- Roll your hair: Starting from the bottom, wrap small sections of hair around the rods, ensuring they are rolled tightly and evenly.
- Apply the waving lotion: Carefully apply the waving lotion to each rod, saturating the hair completely.
- Processing time: Follow the instructions on your kit for the recommended processing time based on your hair type and desired curl intensity.
- Rinse and neutralize: Once the processing time is complete, thoroughly rinse your hair with water while the rods are still in. Then, apply the neutralizer, making sure to saturate all the rods.
- Remove the rods: After the neutralizer has been on for the recommended time, carefully remove the rods.
- Style and admire: Style your hair as desired and revel in your stunning new look!
Post-Perm Care: Keeping Your Curls or Straight Style Looking Their Best
Congratulations on your successful home perm! To keep your new style looking its best and maintain healthy hair, follow these essential post-perm care tips:
- Avoid washing your hair for 48 hours: This allows the perm to fully set and prevents premature relaxation of the curls.
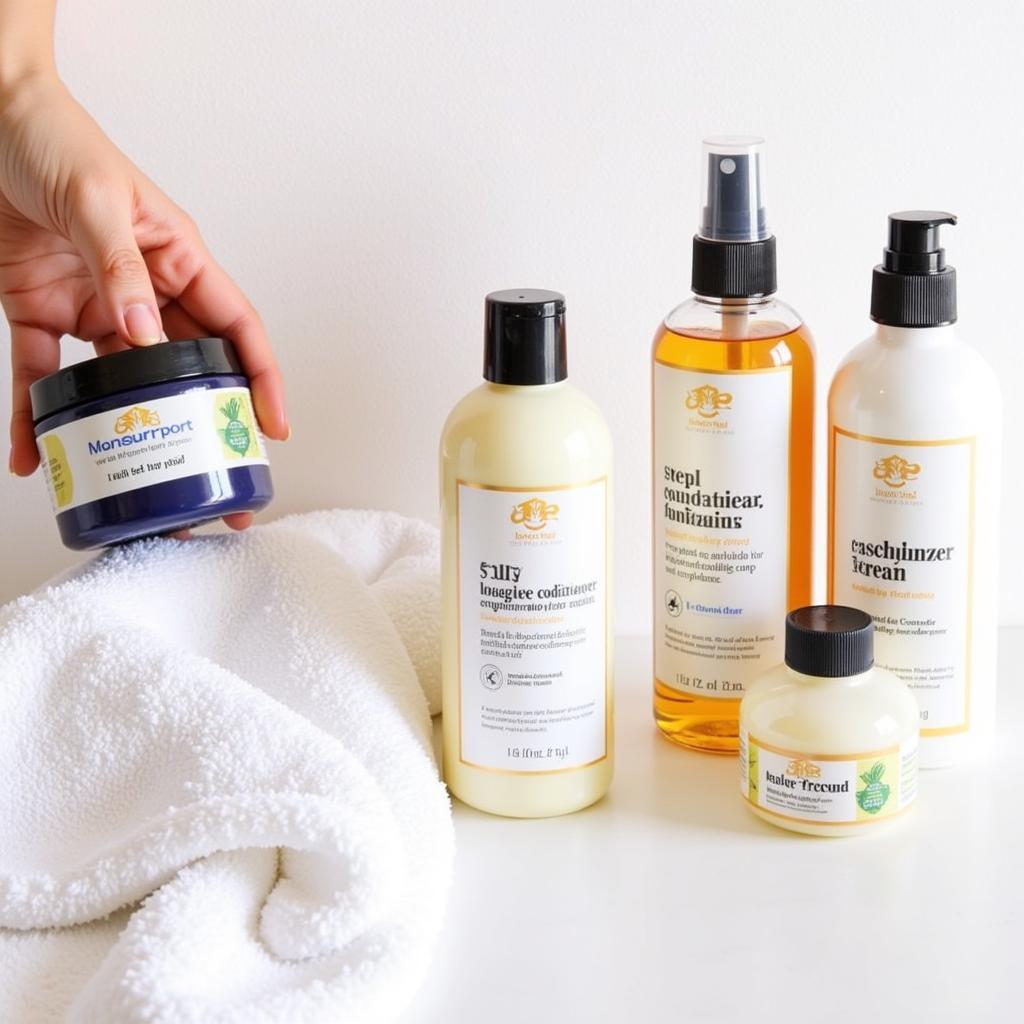
- Use sulfate-free hair products: Opt for shampoos and conditioners specifically designed for chemically treated hair to prevent dryness and maintain your hair’s moisture balance.
- Deep condition regularly: Indulge in a weekly deep conditioning treatment to nourish and hydrate your hair, keeping it soft and manageable.
Troubleshooting Common Home Perm Issues
Even with careful preparation and application, unexpected results can sometimes occur. Here are some common home perm issues and how to address them:
- Frizz and dryness: Use a leave-in conditioner or hair serum to tame frizz and add moisture to your hair.
- Uneven curls: If some sections of your hair appear less curly than others, you can try re-rolling those sections and applying a small amount of waving lotion for a shorter processing time.
- Hair damage: If you experience excessive dryness or breakage after your perm, consult with a professional stylist for advice on hair repair treatments.
 Maintaining Your New Look: Post-Perm Essentials
Home Perm FAQs: Your Burning Questions Answered
Q: How long does a home perm last?
A: Home perms typically last anywhere from 2 to 6 months, depending on your hair type, the specific kit used, and your hair care routine.
Q: Can I perm my hair if it’s already color-treated?
A: It’s best to consult with a professional stylist before perming color-treated hair to assess its condition and determine the best course of action.
Q: Can I straighten my hair after getting a perm?
A: Yes, you can temporarily straighten permed hair using a flat iron or blow dryer. However, avoid doing this frequently as excessive heat styling can damage your hair.
Embracing Your New Look: Styling Tips for Permed Hair
With your gorgeous new curls or sleek straight style, the styling possibilities are endless! Experiment with different looks and products to discover your favorites.
For curly hair:
- Scrunch and diffuse: Enhance your natural curl pattern by scrunching your hair with a curl-defining cream and using a diffuser attachment on your blow dryer.
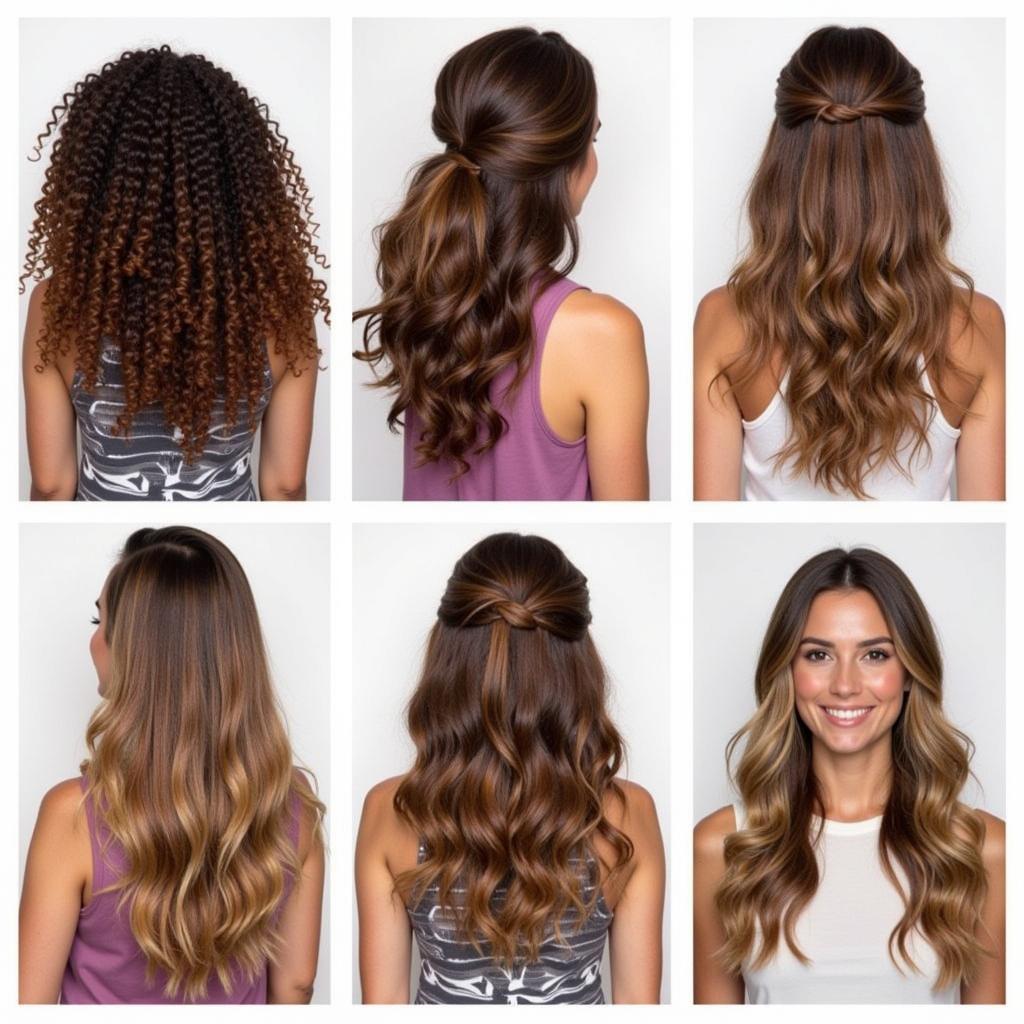
- Braids and updos: Create effortless, romantic hairstyles by braiding your hair or styling it in loose updos.
For straight hair:
- Sleek and polished: Achieve a chic and sophisticated look by straightening your hair with a flat iron and finishing with a shine serum.
- Voluminous waves: Add volume and texture to your straight hair by using a curling iron or hot rollers to create loose waves.
 Exploring Hairstyles for Your Permed Hair
Conclusion
Transforming your hair at home with a permanent kit can be an exciting and rewarding experience. By following the tips and guidelines outlined in this comprehensive guide, you can achieve salon-worthy results while expressing your unique style. Remember to choose the right kit for your hair type, follow the instructions carefully, and prioritize post-perm care to enjoy your stunning new look!