AdGuard Home has emerged as a popular choice for individuals seeking to enhance their online privacy and security. In this comprehensive guide, we will delve into the process of setting up AdGuard Home using Docker-Compose. Whether you’re a seasoned tech enthusiast or new to network management, this tutorial will equip you with the knowledge to establish a robust ad-blocking solution for your home network.
Understanding AdGuard Home and Docker-Compose
Before we dive into the technicalities, let’s clarify what AdGuard Home and Docker-Compose are and why they make an excellent combination for effortless ad blocking.
What is AdGuard Home?
AdGuard Home is a powerful, network-wide software that acts as a DNS sinkhole. In simpler terms, it intercepts DNS requests from your devices and filters out any that are known to serve ads or trackers. By doing so, it prevents those pesky ads from ever reaching your devices, resulting in faster browsing, reduced bandwidth consumption, and enhanced privacy.
Why Choose Docker-Compose for AdGuard Home?
Docker-Compose simplifies the deployment of multi-container Docker applications, like AdGuard Home. It uses a YAML file to configure your application’s services and allows you to create and start all the services with a single command. This makes the setup process incredibly smooth and efficient, even for those who might not be comfortable with complex configurations.
Prerequisites
Before we begin, ensure you have the following:
- A machine with Docker and Docker-Compose installed. This could be a Raspberry Pi, a virtual private server (VPS), or even your home computer.
- A basic understanding of networking concepts like IP addresses and DNS servers.
Step-by-Step Guide to Setting Up AdGuard Home with Docker-Compose
Now, let’s get our hands dirty and set up AdGuard Home using Docker-Compose.
-
Create a Docker-Compose File:
Begin by creating a file named
docker-compose.ymlin a new directory. This file will contain all the configuration details for our AdGuard Home setup. -
Define the AdGuard Home Service:
Inside your
docker-compose.ymlfile, add the following code:version: "3" services: adguardhome: image: adguard/adguardhome:latest container_name: adguardhome restart: unless-stopped ports: - "53:53/tcp" # DNS (TCP) - "53:53/udp" # DNS (UDP) - "3000:3000" # Web interface volumes: - ./adguardhome/work:/opt/adguardhome/work - ./adguardhome/conf:/opt/adguardhome/confLet’s break down what each line does:
version: "3": Specifies the Docker-Compose file version.services:: Defines the services that make up your application.adguardhome:: This is the name we’re giving to our AdGuard Home service.image: adguard/adguardhome:latest: Instructs Docker to pull the latest AdGuard Home image from Docker Hub.container_name: adguardhome: Assigns a name to the running container, making it easier to manage.restart: unless-stopped: Ensures AdGuard Home automatically restarts unless you manually stop it.ports:: Maps ports between the host machine and the AdGuard Home container. We’re mapping the standard DNS port (53) and the web interface port (3000).volumes:: Creates persistent storage for AdGuard Home’s configuration and data, ensuring they persist even if the container restarts.
-
Deploy AdGuard Home:
With your
docker-compose.ymlfile ready, open your terminal, navigate to the directory containing the file, and run:docker-compose up -dThis command downloads the AdGuard Home image and starts the container in detached mode, meaning it runs in the background.
-
Configure AdGuard Home:
Once the container is up and running, you can access the AdGuard Home web interface by opening a web browser and navigating to
http://your-server-ip:3000. Replaceyour-server-ipwith the actual IP address of your machine.
 Configuring AdGuard Home
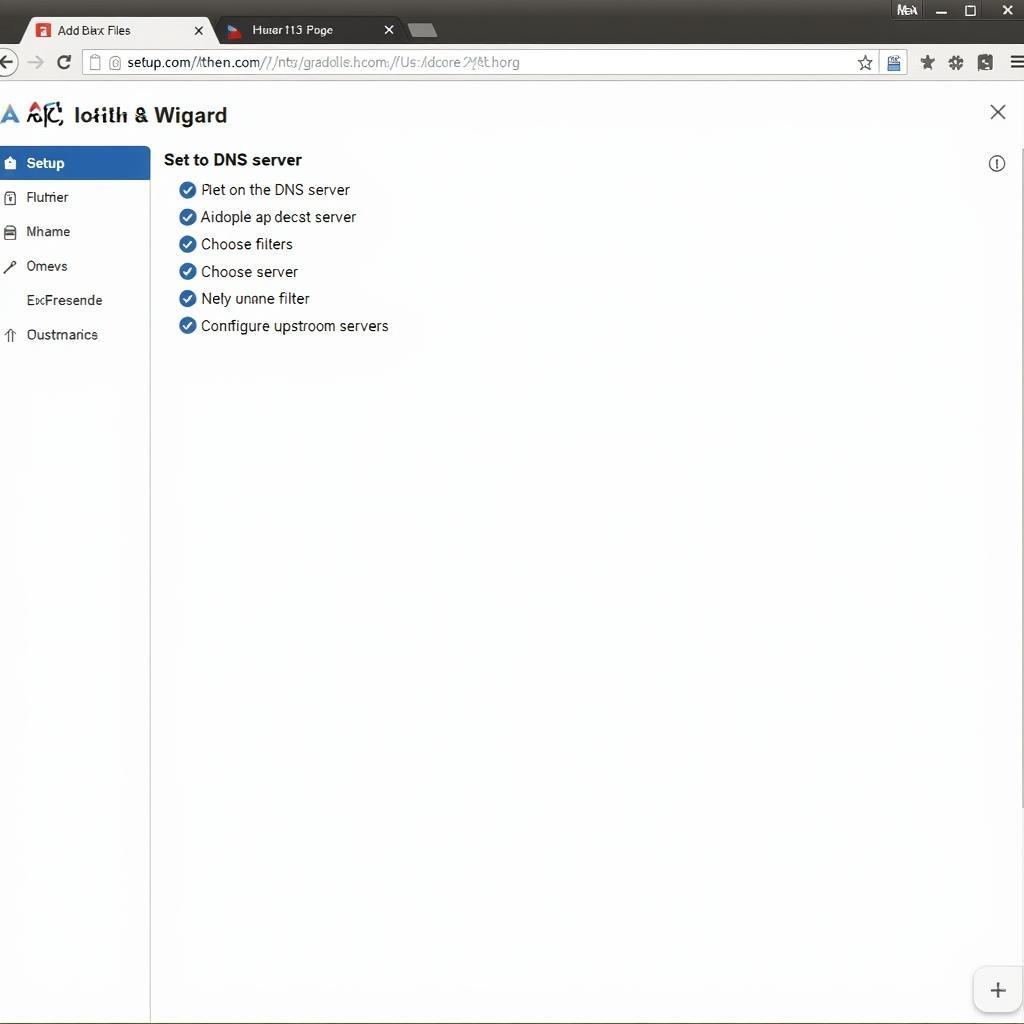
The setup wizard will guide you through:
- Setting your desired DNS server
- Choosing upstream DNS servers (you can use AdGuard’s DNS servers or customize them for added privacy)
- Selecting filter lists to block ads and trackers (AdGuard Home provides various pre-configured lists, or you can import custom ones)
- And other basic settings.
Verifying Your Setup
After completing the setup, visit a website known for its ads. If you’ve followed the steps correctly, the ads should be blocked! You can also check the query log in AdGuard Home’s web interface to see the blocked requests.
 Verifying AdGuard Home Setup
Conclusion
Congratulations! You’ve successfully set up AdGuard Home with Docker-Compose. You are now equipped to enjoy a faster, safer, and more private browsing experience on all your devices. Remember, you can further customize AdGuard Home by exploring its extensive settings and features to tailor it to your specific needs.
FAQs
1. Can I use AdGuard Home with a VPN?
Yes, you can use AdGuard Home with a VPN. In fact, using them together can further enhance your privacy and security. AdGuard Home will block ads and trackers at the DNS level, while your VPN will encrypt your traffic and mask your IP address.
2. Does AdGuard Home block all ads?
AdGuard Home blocks most ads, but some might slip through due to increasingly sophisticated ad-serving techniques. You can improve its effectiveness by keeping your filter lists updated and adding custom rules.
3. What are upstream DNS servers?
Upstream DNS servers are the servers that AdGuard Home uses to resolve domain names that it hasn’t already cached or blocked. You can choose from various public DNS servers, including those focused on privacy, like Quad9 or Cloudflare DNS.
4. Can I use my own domain name with AdGuard Home?
Yes, you can configure AdGuard Home to use your own domain name. This allows you to access the web interface via a custom URL. However, it requires setting up a reverse proxy, which is a more advanced configuration.
5. Is AdGuard Home free?
Yes, AdGuard Home is a completely free and open-source project. You can download and use it without any restrictions.
Need Help?
For further assistance or inquiries, please contact us at:
Phone Number: 0793157979
Email: [email protected]
Address: 73C6+XR, Trung Son, Viet Yen, Bac Giang, Vietnam.
Our dedicated customer support team is available 24/7 to assist you with any questions or concerns you may have.