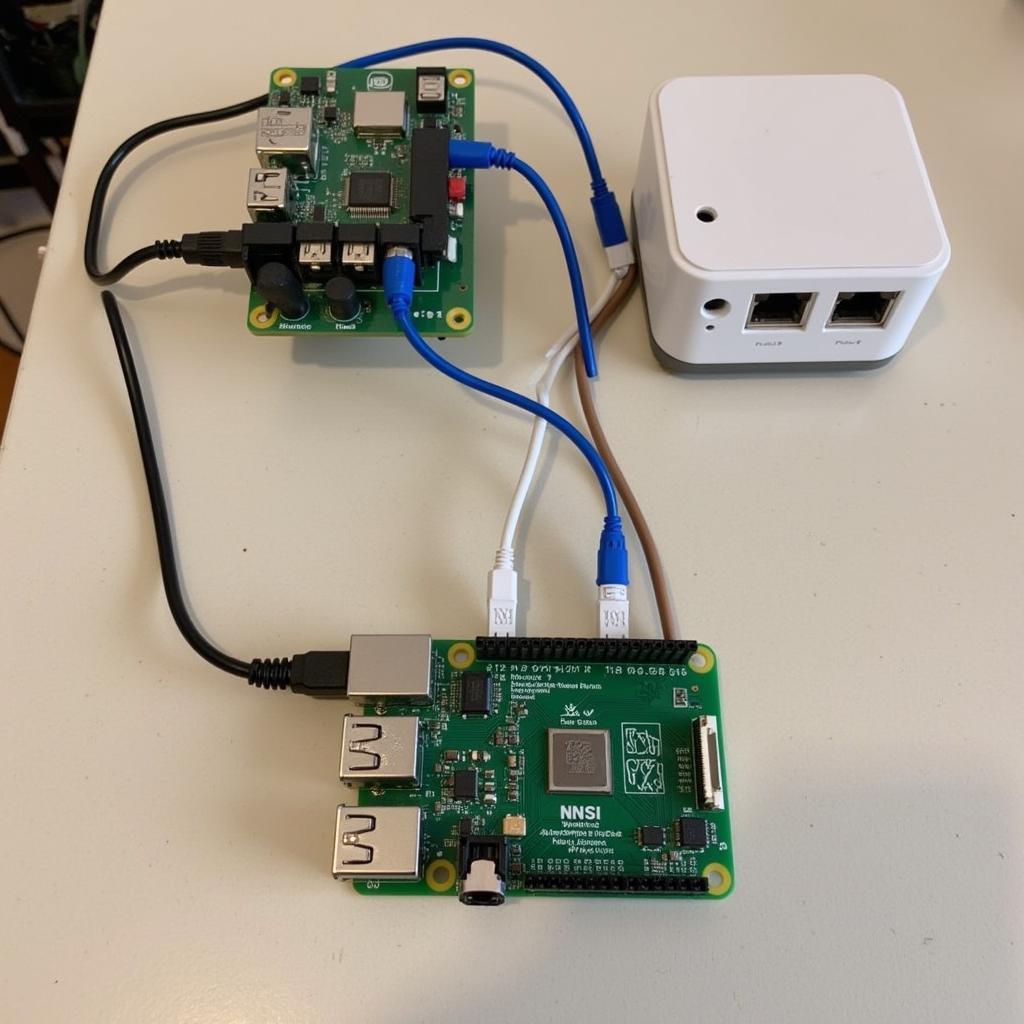
The Raspberry Pi, a credit card-sized computer, has taken the DIY electronics world by storm, and for good reason. Its versatility and affordability make it the perfect platform for a wide range of projects, especially creating a powerful and customizable smart home hub with Home Assistant. This guide will walk you through setting up your Raspberry Pi For Home Assistant, transforming your house into a truly intelligent living space.
 Setting Up Raspberry Pi for Home Assistant
Why Choose Raspberry Pi for Home Assistant?
Before we dive into the setup, let’s explore why the Raspberry Pi is an excellent choice for running Home Assistant:
- Affordability: Compared to other smart home hubs on the market, the Raspberry Pi offers exceptional value for its processing power and capabilities.
- Flexibility and Customization: Home Assistant on a Raspberry Pi gives you complete control over your smart home ecosystem. You’re not limited by pre-configured settings or restricted to specific brands.
- Local Processing and Privacy: Unlike cloud-based smart home systems, running Home Assistant locally on your Raspberry Pi keeps your data within your network, enhancing privacy and security.
- Active Community and Support: Both Raspberry Pi and Home Assistant boast large and active communities. This means readily available resources, tutorials, and forums to assist you with any challenges.
What You’ll Need
Before you begin, gather the following:
- Raspberry Pi: A Raspberry Pi 3 Model B+ or later is recommended for optimal performance.
- MicroSD Card: A high-quality microSD card with at least 32GB capacity is ideal. Look for cards with a Class 10 speed rating for faster read/write speeds.
- Power Supply: Use a reliable 5V 3A USB-C power supply specifically designed for the Raspberry Pi to ensure stable operation.
- Ethernet Cable or Wi-Fi Dongle: A wired Ethernet connection is generally more stable, but you can use a Wi-Fi dongle if needed.
- Peripherals (Optional): A keyboard, mouse, and monitor will be helpful for the initial setup, but you can also access Home Assistant remotely once it’s running.
Installing Home Assistant Operating System
- Download Home Assistant OS: Head over to the official Home Assistant website and download the latest version of Home Assistant OS for your Raspberry Pi model.
- Flash the OS to Your MicroSD Card: Use a program like BalenaEtcher (available for Windows, macOS, and Linux) to flash the Home Assistant OS image onto your microSD card. This process overwrites all data on the card, so ensure you’ve backed up any important files.
- Boot Up Your Raspberry Pi: Insert the microSD card into your Raspberry Pi, connect the Ethernet cable or Wi-Fi dongle, and finally, connect the power supply. Your Pi will boot, and Home Assistant will begin the installation process, which can take up to 20 minutes.
Accessing Home Assistant for the First Time
- Find Your Raspberry Pi’s IP Address: Once the installation is complete, you can access Home Assistant through a web browser on any device connected to your network. To find your Raspberry Pi’s IP address, you can use a network scanner app or check your router’s DHCP client list.
- Log In to Home Assistant: Enter your Raspberry Pi’s IP address into the address bar of your web browser. You’ll be prompted to create a user account and set a strong password.
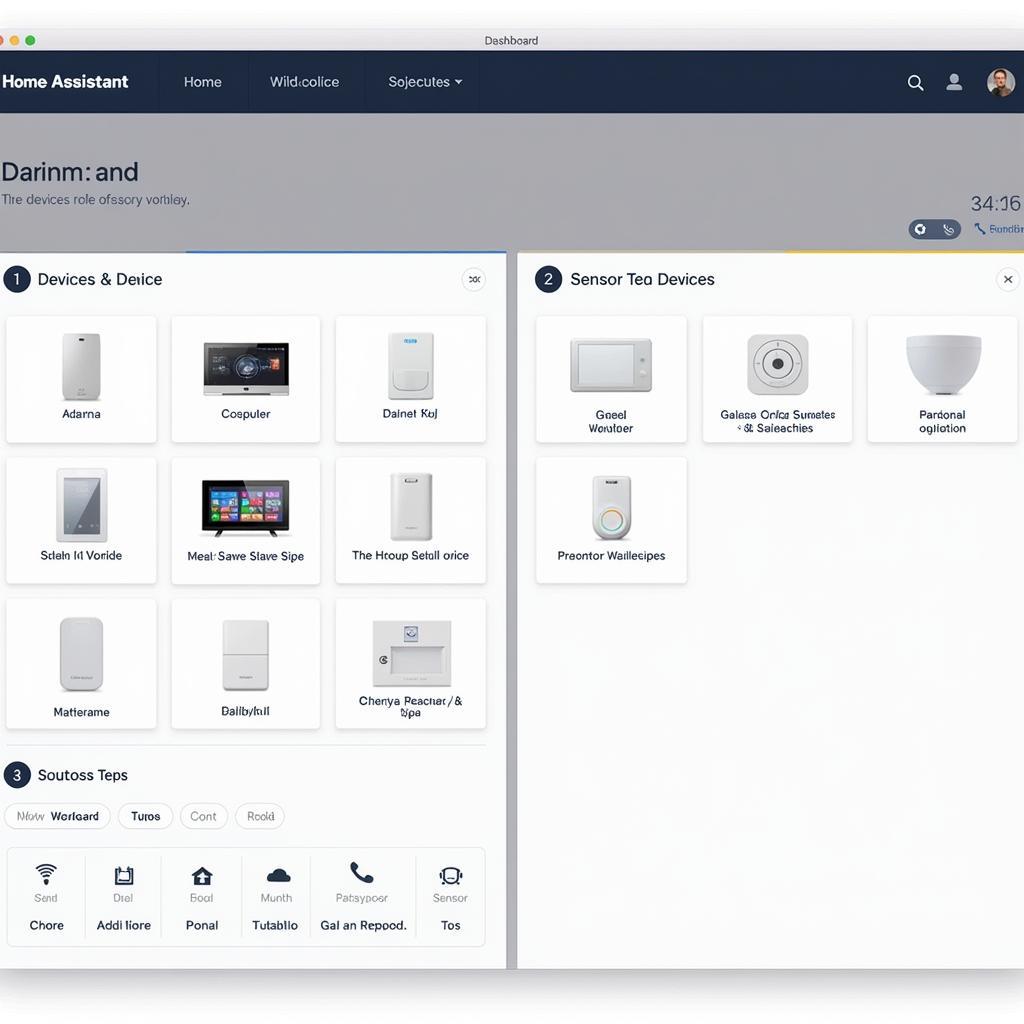
 Viewing the Home Assistant Dashboard
Configuring Your Smart Home Devices
Now that Home Assistant is up and running, the fun begins! You can start connecting and configuring your various smart home devices. Home Assistant supports a vast range of devices and protocols, including:
- Smart Lights: Philips Hue, LIFX, IKEA Tradfri, and many more.
- Smart Switches and Plugs: TP-Link Kasa, WeMo, Sonoff, and others.
- Sensors: Temperature, humidity, motion, door/window sensors from brands like Aqara, Xiaomi, and more.
- Voice Assistants: Integrate with Amazon Alexa or Google Assistant for voice control.
Home Assistant provides a user-friendly interface to discover and integrate these devices into your smart home setup. You can create automations to automate tasks based on triggers like time of day, sensor readings, or device status.
Extending Home Assistant with Add-ons
Home Assistant’s functionality can be further enhanced with add-ons. These are pre-packaged applications that extend the capabilities of your smart home hub.
- Node-RED: A visual programming tool for creating complex automations and connecting different services.
- Mosquitto MQTT Broker: Enables communication between devices using the lightweight MQTT protocol.
- File Editor: Allows you to edit configuration files directly from the Home Assistant interface.
 Configuring Add-ons in Home Assistant
Tips for a Smooth Home Assistant Experience
- Keep Your System Updated: Regularly update both Home Assistant and your Raspberry Pi’s operating system to ensure you have the latest features, security patches, and bug fixes.
- Back Up Your Configuration: Home Assistant allows you to create backups of your entire configuration. It’s good practice to do this regularly, especially after making significant changes.
- Start Small and Scale Gradually: Begin by connecting a few essential devices and gradually expand your smart home ecosystem as you become more comfortable with Home Assistant.
Conclusion
Setting up your Raspberry Pi for Home Assistant opens up a world of possibilities for creating a personalized and automated smart home experience. With its affordability, flexibility, and vast community support, Home Assistant on a Raspberry Pi empowers you to take control of your smart home journey. Don’t hesitate to dive in and explore the endless possibilities of a truly intelligent living space.
FAQs
1. What happens if my Raspberry Pi loses power?
Home Assistant is designed to automatically restart and reconnect to your network and devices after a power outage. However, it’s a good idea to have a UPS (Uninterruptible Power Supply) connected to your Raspberry Pi for added reliability during short power interruptions.
2. Can I control Home Assistant remotely?
Yes, you can access and control Home Assistant from anywhere with an internet connection. You can either set up port forwarding on your router or use a secure VPN connection.
3. Is Home Assistant difficult to use?
Home Assistant has a user-friendly interface, but there is a learning curve, especially if you are new to smart home technology. The active community forums and extensive documentation are valuable resources as you learn.
4. What if I need help or have questions?
The Home Assistant community forums are an excellent place to seek help, ask questions, and share your experiences. You’ll find a wealth of knowledge and support from fellow users and developers.
5. Can I use a Raspberry Pi Zero for Home Assistant?
While it’s technically possible to run Home Assistant on a Raspberry Pi Zero, it’s not recommended due to its limited processing power and memory. A Raspberry Pi 3 Model B+ or later will provide a much smoother and more responsive experience.
Need further assistance setting up your Raspberry Pi for Home Assistant? We’re here to help! Contact us at Phone Number: 0793157979, Email: [email protected] or visit us at 73C6+XR, Trung Son, Viet Yen, Bac Giang, Vietnam. Our customer support team is available 24/7 to answer your questions and guide you through the process.