The world of home automation can seem daunting and expensive. However, with a Raspberry Pi and Home Assistant, you can build a powerful and flexible smart home system on a budget. This guide will walk you through everything you need to know about setting up your own Raspberry Pi Home Assistant, from choosing the right hardware to connecting your favorite devices and creating personalized automations.
Why Choose Raspberry Pi for Home Assistant?
A Raspberry Pi is a small, affordable computer that offers a surprising amount of power and versatility. This makes it an ideal platform for running Home Assistant, an open-source home automation software known for its customization options and extensive device support. Here are a few key advantages of choosing Raspberry Pi for your Home Assistant setup:
- Affordability: Raspberry Pi boards are very budget-friendly, especially compared to dedicated smart home hubs.
- Flexibility: Home Assistant on Raspberry Pi gives you complete control over your system, allowing you to customize it to your exact needs and preferences.
- Privacy: With a local installation on Raspberry Pi, your data stays within your home network, enhancing privacy and security.
- Community Support: Both Raspberry Pi and Home Assistant have large and active communities, providing ample resources, tutorials, and support forums.
Getting Started with Raspberry Pi and Home Assistant
1. Gather Your Supplies
Before diving in, you’ll need a few essential components:
- Raspberry Pi: A Raspberry Pi 3B+ or newer is recommended for optimal performance.
- MicroSD Card: Choose a high-quality microSD card with at least 32GB of storage.
- Power Supply: Ensure you have a reliable power supply specifically designed for your Raspberry Pi model.
- Ethernet Cable or Wi-Fi Dongle: A stable internet connection is crucial for Home Assistant.
- Peripherals (Optional): A monitor, keyboard, and mouse can be helpful during the initial setup.
2. Install Home Assistant Operating System
The easiest way to get started is by using Home Assistant Operating System (Home Assistant OS), a custom-built operating system optimized for running Home Assistant on Raspberry Pi.
- Download the Home Assistant OS image from the official website.
- Use a program like BalenaEtcher to flash the image onto your microSD card.
- Insert the microSD card into your Raspberry Pi, connect it to your network, and power it on.
3. Accessing Your Home Assistant Instance
Once your Raspberry Pi boots up, you can access your Home Assistant instance through a web browser.
- Navigate to
http://homeassistant.local:8123(or your Raspberry Pi’s IP address). - Create a user account and complete the initial setup process.
 Setting up Raspberry Pi Home Assistant
Connecting Your Smart Home Devices
Home Assistant acts as the central hub for all your smart home devices. It supports a vast range of devices from different manufacturers, allowing you to control them from a single interface.
- Zigbee and Z-Wave: Consider a compatible USB dongle to integrate Zigbee and Z-Wave devices, expanding your options.
- Wi-Fi Devices: Connect smart plugs, lights, sensors, and more directly to your Home Assistant network.
- Cloud Integrations: Integrate with popular cloud services like Philips Hue, Google Assistant, and Amazon Alexa.
Discover and Manage Devices
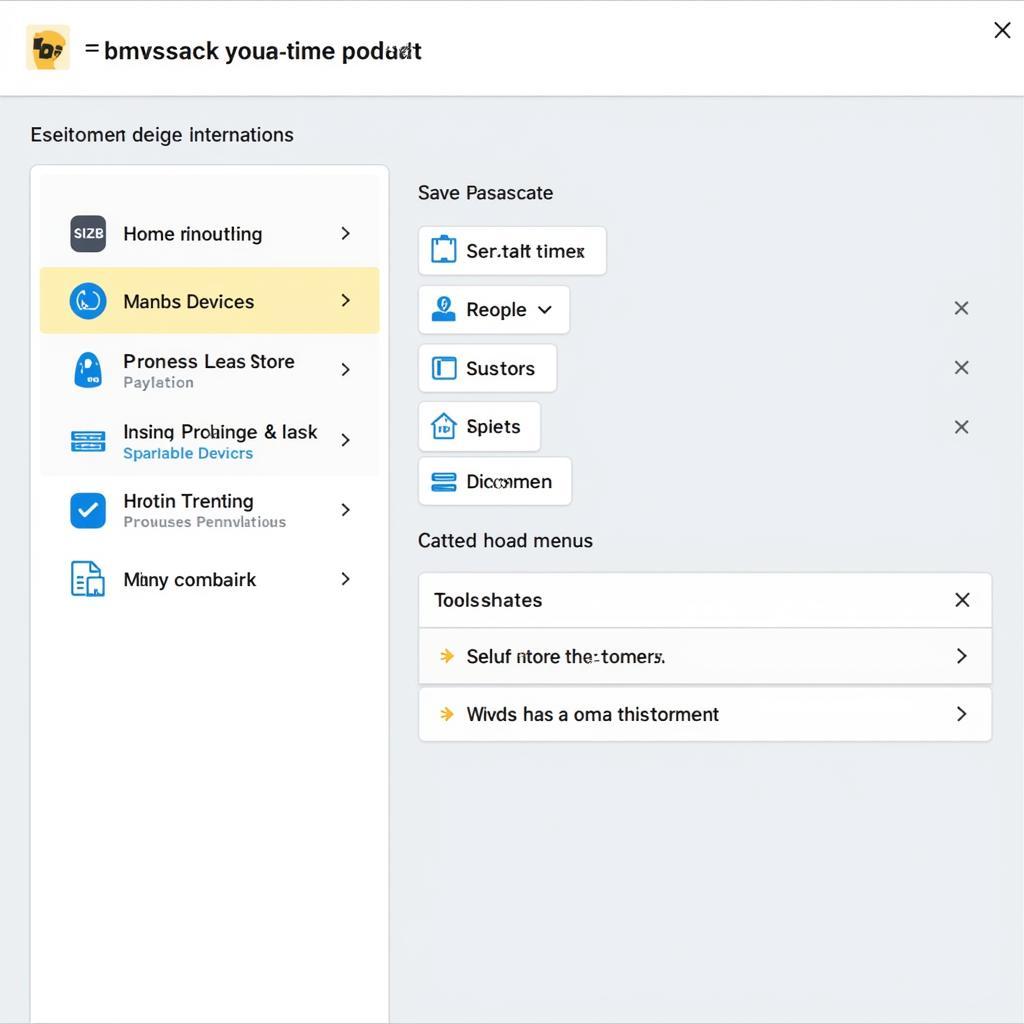
- Within the Home Assistant interface, go to “Settings” -> “Devices & Services.”
- Click on “Add Integration” and choose from the extensive list of supported devices and services.
- Follow the on-screen instructions to connect and configure each device.
 Integrating Devices with Home Assistant
Creating Automations: The Power of Home Assistant
Automations are the heart and soul of a smart home, enabling you to create personalized experiences and automate everyday tasks. Home Assistant provides a powerful and intuitive automation editor.
Define Triggers, Conditions, and Actions
- Triggers: Events that initiate an automation (e.g., sunset, motion detection).
- Conditions: Optional filters to refine when an automation runs (e.g., only if someone is home).
- Actions: The tasks performed when an automation is triggered (e.g., turning on lights, sending a notification).
Example Automation
Let’s say you want to create an automation that automatically turns on the porch light at sunset and turns it off at sunrise.
Trigger: Sunset
Condition: None
Action: Turn on the porch light
Trigger: Sunrise
Condition: None
Action: Turn off the porch light
 Home Assistant Automation Editor
Taking Your Smart Home Further
- Remote Access: Access and control your Home Assistant system from anywhere using the Home Assistant Cloud service or setting up a secure VPN connection.
- Voice Control: Integrate with voice assistants like Google Assistant and Amazon Alexa for hands-free control.
- Custom Dashboards: Create personalized dashboards with Lovelace UI, Home Assistant’s powerful and customizable interface, to visualize your home’s status and control your devices with ease.
Conclusion
Building a smart home with Raspberry Pi and Home Assistant empowers you with flexibility, affordability, and a high level of customization. From simple automations to complex scenes, the possibilities are endless. With an active community and a wealth of online resources, embarking on your DIY smart home journey has never been easier.