Accessing your Home Assistant instance remotely opens up a world of possibilities, from controlling your smart home on the go to receiving real-time notifications. However, ensuring secure remote access is paramount. That’s where Nginx Proxy Manager comes in, providing a user-friendly interface to set up a reverse proxy and secure your connection with SSL/TLS encryption.
Using Nginx Proxy Manager to expose Home Assistant offers several advantages:
- Enhanced Security: The reverse proxy acts as a gateway, shielding your Home Assistant server from direct exposure to the internet and potential threats.
- SSL/TLS Encryption: Nginx Proxy Manager simplifies the process of obtaining and renewing SSL certificates (using Let’s Encrypt), ensuring all communication between your devices and Home Assistant is encrypted.
- Simplified Access: Instead of remembering complex IP addresses and ports, you can access Home Assistant using a memorable domain name.
Setting up Nginx Proxy Manager for Home Assistant
Before you begin, ensure you have Nginx Proxy Manager installed and running, and your Home Assistant instance is accessible on your local network.
Step 1: Configure a New Proxy Host
- Log in to your Nginx Proxy Manager interface.
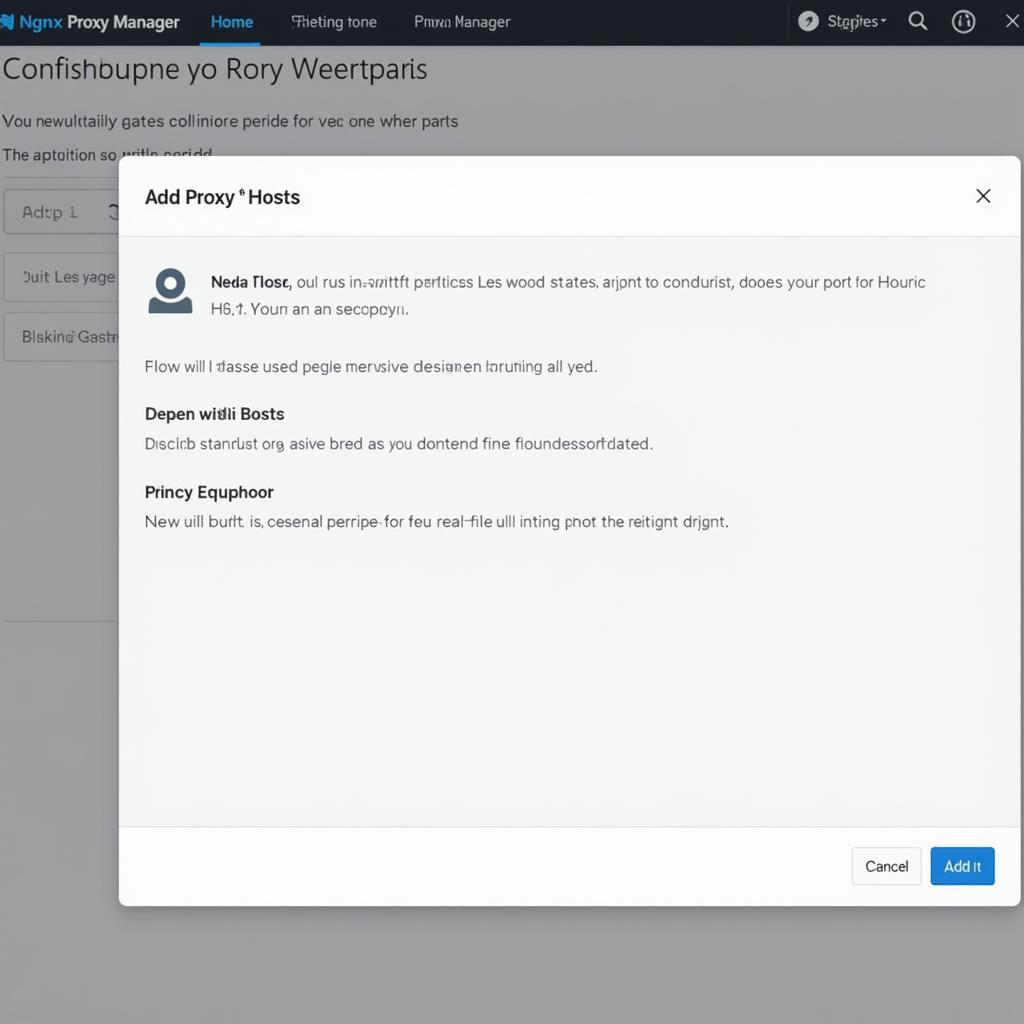
- Navigate to the “Proxy Hosts” section and click “Add Proxy Host”.
 Adding a New Proxy Host in Nginx Proxy Manager
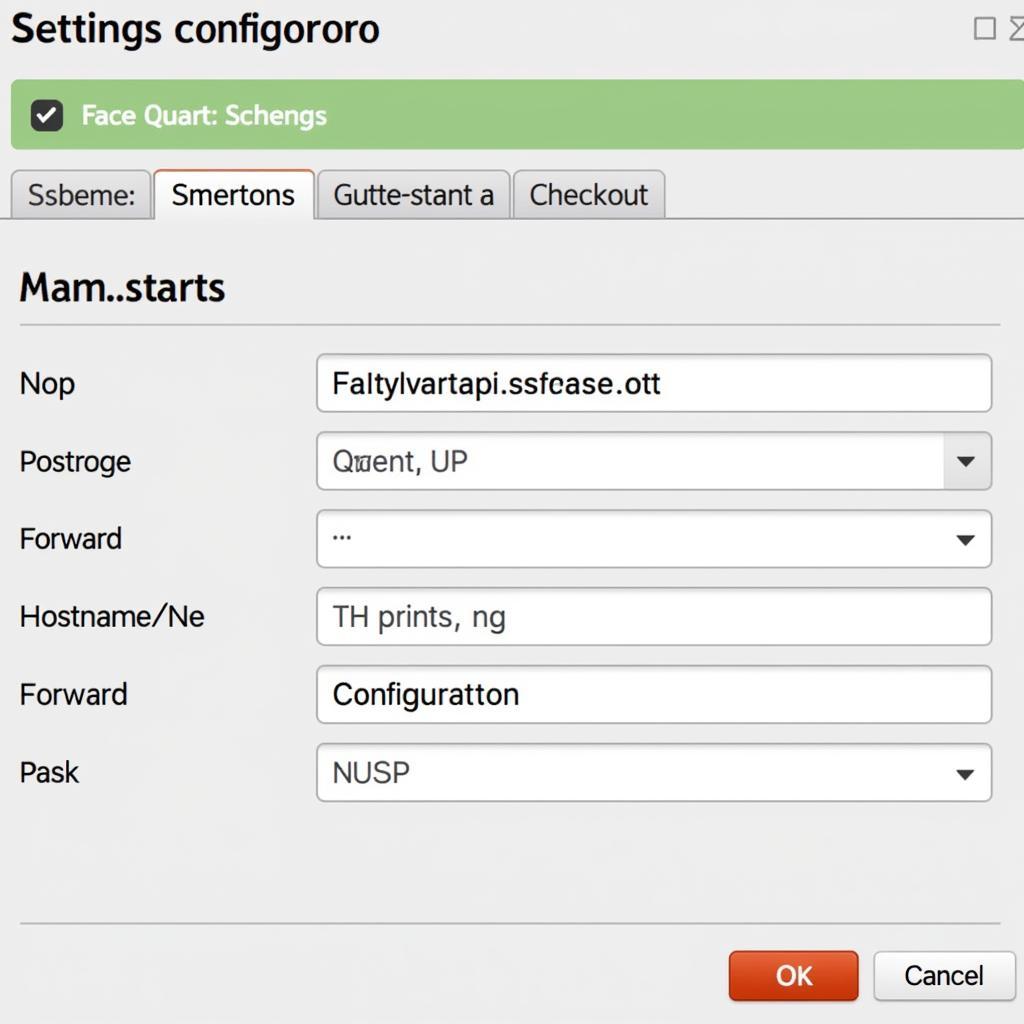
Step 2: Define Domain and Forwarding Settings
- Domain Name: Enter the domain name you want to use to access Home Assistant (e.g., homeassistant.yourdomain.com).
- Scheme: Choose “https” to enforce encrypted connections.
- Forward Hostname/IP: Enter the local IP address of your Home Assistant server.
- Forward Port: Specify the port Home Assistant is running on (usually 8123).
 Configuring Domain and Forwarding Settings
Step 3: Enable SSL and Configure Cache
- SSL Certificate: Select “Request a new SSL Certificate” and choose “Let’s Encrypt.” Follow the prompts to automatically obtain and configure a free SSL certificate for your domain.
- Cache: Enabling caching for specific resources (like images and CSS files) can improve loading speeds.
Step 4: Save and Test Your Configuration
- Save your proxy host configuration.
- Access your Home Assistant instance remotely by navigating to your chosen domain name (e.g., https://homeassistant.yourdomain.com) in your web browser.
Troubleshooting Tips
If you encounter issues, double-check the following:
- Port Forwarding: Ensure the correct ports are forwarded from your router to your Home Assistant server.
- Firewall Rules: Verify that your firewall isn’t blocking traffic to the necessary ports.
- DNS Resolution: Make sure your domain name correctly resolves to your Nginx Proxy Manager’s public IP address.
By following these steps, you can securely expose Home Assistant to the internet using Nginx Proxy Manager, enhancing security and simplifying remote access to your smart home control center.